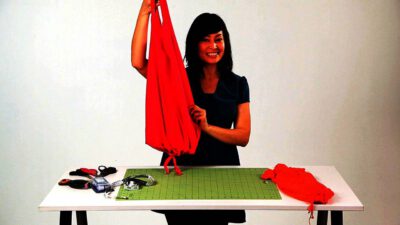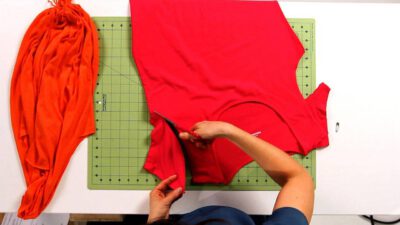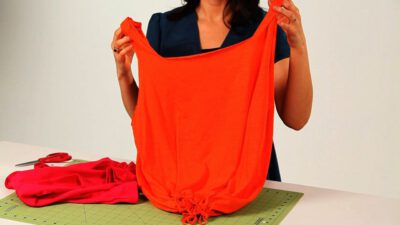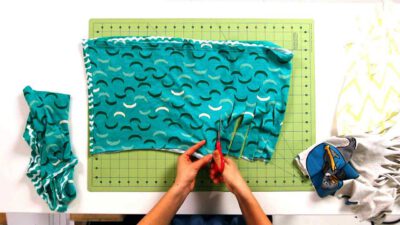
How to Stuff & Finish a No-Sew Pillow
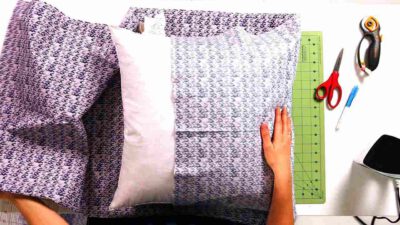
Transcript Okay. So we finished the sides of our pillow case and we are almost ready to stuff our pillow. The next thing that we need to do is turn our pillow case inside out. So super simple. Just reach on to the inside and start turning. As you’re doing this you can just use …